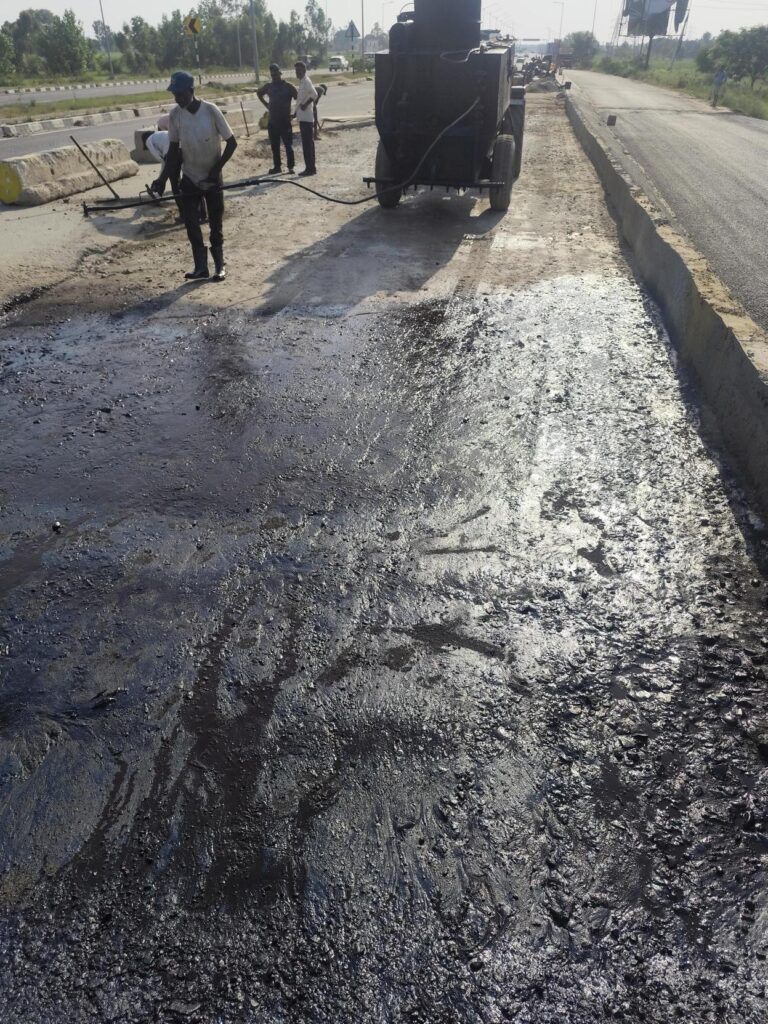
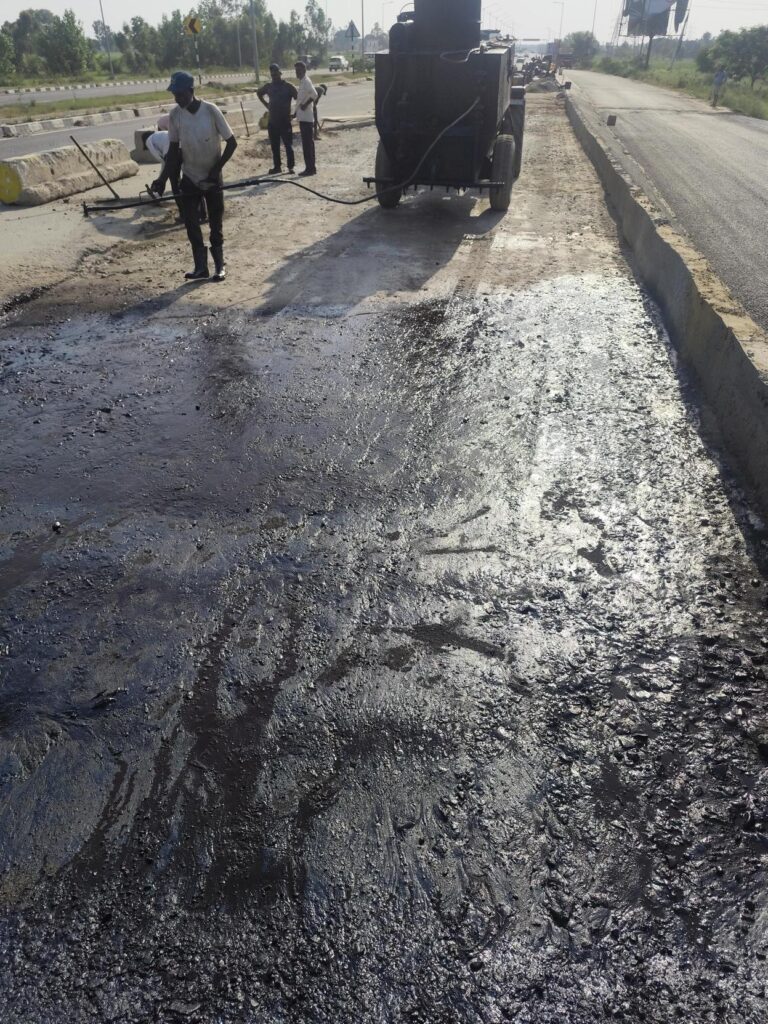
2. Step-by-Step PQC Construction Process
2.1 Subgrade & GSB Preparation
The quality of Pavement Quality Concrete (PQC) primarily depends on the strength and uniformity of the foundation layers. Before laying Dry Lean Concrete (DLC), the completed subgrade and Granular Sub Base (GSB) shall be prepared, inspected, and approved to ensure adequate load-bearing capacity, proper drainage, and accurate pavement geometry.
- Setting Out: Establish centre line, edge lines, benchmarks, offsets, and finished levels using Total Station/Auto Level before commencing earthwork.
- Subgrade Preparation: Trim the prepared subgrade to the required line, level, camber, and cross fall. Remove loose soil, organic matter, soft pockets, and any unsuitable material encountered during trimming.
- Compaction: Compact the subgrade uniformly using suitable vibratory rollers until the specified density (minimum 97% of Maximum Dry Density as per project specifications) is achieved. Moisture content shall be maintained close to Optimum Moisture Content (OMC).
- Proof Rolling: Carry out proof rolling using a loaded dump truck or pneumatic tyred roller to identify weak, yielding, or pumping areas. Excavate and replace defective portions with approved material before proceeding.
- Drainage Arrangement: Ensure side drains and temporary drainage channels are functional so that no water stagnation occurs on the prepared subgrade during construction.
- GSB Laying: Spread Granular Sub Base (GSB) material in the specified layer thickness using a motor grader or sensor paver. Control segregation during unloading and maintain uniform thickness throughout the carriageway.
- GSB Compaction: Compact each GSB layer with vibratory rollers until the specified field density is achieved. Add water uniformly wherever required to maintain optimum moisture for effective compaction.
- Surface Finish: After compaction, the GSB surface shall be firm, dense, and free from ruts, loose aggregates, depressions, or segregated patches. Any irregularities shall be corrected before laying the next layer.
- Quality Control: Verify field density, moisture content, layer thickness, levels, cross fall, and longitudinal profile at the prescribed frequency. The completed GSB shall satisfy all tolerance limits before commencement of DLC.
- Final Approval: Clean the finished GSB surface thoroughly and obtain Engineer's approval before laying Dry Lean Concrete (DLC). Traffic movement over the approved surface should be restricted to prevent damage or contamination.
2.2 Dry Lean Concrete (DLC) Layer Preparation
Dry Lean Concrete (DLC) is the rigid foundation layer placed below Pavement Quality Concrete (PQC). It provides a stable, uniform, and non-erodible platform for PQC, distributes wheel loads to the sub-base, minimizes pumping, and facilitates the movement of paving equipment during concrete pavement construction.
- Surface Preparation: Before laying DLC, ensure the approved GSB surface is clean, compact, free from loose material, and maintained at the specified line, level, thickness, and cross fall. Any damaged or segregated portions shall be repaired.
- Mix Production: Produce DLC using a calibrated batching plant in accordance with the approved mix design. Control water content carefully to achieve the specified consistency without segregation.
- Transportation: Transport the concrete in transit mixers or dumpers without delay. Prevent contamination, excessive moisture loss, and segregation during transportation.
- Mechanical Laying: Spread the DLC uniformly using a sensor paver or mechanical paver to the specified thickness. Manual laying should be limited only to inaccessible or minor areas.
- Compaction & Finishing: Compact the laid concrete immediately using internal and surface vibrators integrated with the paver. Finish the surface with a screed to achieve the required level and smoothness without overworking the concrete.
- Level & Thickness Control: Continuously check layer thickness, longitudinal profile, cross fall, and surface levels during paving. Any deficiency beyond permissible tolerances shall be rectified immediately.
- Joint Construction: Construct longitudinal and transverse construction joints at planned locations. The edges of completed panels shall be neat, straight, and properly protected before adjacent concreting.
- Curing: Begin curing immediately after the surface has hardened sufficiently. Cure the DLC continuously for a minimum of 7 days using water or approved curing methods to prevent rapid moisture loss and shrinkage cracking.
- Quality Control: Verify thickness, density, compressive strength, line, level, and surface regularity at the prescribed frequency. Only approved DLC shall be accepted for subsequent PQC paving.
- Pre-PQC Inspection: Before laying PQC, inspect the DLC surface for cracks, honeycombing, loose particles, laitance, contamination, and ponding water. Clean the surface thoroughly and obtain Engineer's approval prior to commencement of PQC.
Site Engineering Tip: DLC acts as the structural foundation of rigid pavement. Poor compaction, inadequate curing, low thickness, or an uneven surface can lead to pumping, loss of support, slab cracking, faulting at joints, and premature failure of the PQC pavement. Investing time in proper DLC construction significantly improves the long-term performance and service life of the concrete pavement.
2.3 Separation Membrane
A separation membrane is a polyethylene sheet laid over the finished DLC surface before placing Pavement Quality Concrete (PQC). It acts as a bond breaker between DLC and PQC, allowing the concrete slab to expand and contract freely due to temperature and moisture variations. Proper installation of the membrane minimizes frictional restraint, reduces shrinkage stresses, and improves the long-term performance of the rigid pavement.
- Surface Preparation: Before laying the membrane, ensure the DLC surface is clean, dry, smooth, and free from loose particles, laitance, sharp aggregates, oil, or standing water. Repair any damaged or uneven areas.
- Material: Use approved polyethylene (PE) sheet of 125–200 micron thickness (or as specified in the contract). The sheet shall be free from tears, punctures, folds, and manufacturing defects.
- Laying Procedure: Unroll the membrane carefully over the DLC surface without wrinkles or air pockets. Lay it continuously in the direction of paving and ensure complete coverage of the pavement width.
- Overlap: Provide a minimum 300 mm overlap between adjacent sheets. The overlaps shall remain flat and shall not create ridges that could affect the thickness or level of the PQC slab.
- Fixing: Secure the membrane adequately using suitable methods such as sandbags or approved weights to prevent displacement due to wind or construction activities. Avoid puncturing the sheet unnecessarily.
- Protection: Restrict unnecessary traffic over the membrane. If any portion becomes torn, punctured, or displaced during construction, replace or repair it before concrete placement.
- Inspection: Verify that the entire pavement area is covered continuously, overlaps are maintained, and no wrinkles, folds, or damaged sections remain before commencement of PQC paving.
Site Engineering Tip: The separation membrane is not a waterproofing layer; its primary purpose is to prevent bonding between DLC and PQC. By reducing friction between the two layers, it allows the concrete slab to move freely during expansion and contraction, thereby minimizing restraint stresses, early-age cracking, slab warping, and potential pumping-related distress.
2.4 Dowel Bars & Tie Bars Installation
Dowel bars and tie bars are essential components of rigid pavement construction. Dowel bars are provided at transverse joints to transfer wheel loads from one slab to the adjacent slab while permitting horizontal movement due to temperature changes. Tie bars are provided at longitudinal joints to hold adjacent lanes together and prevent joint opening. Proper placement, alignment, and fixing of these steel bars are critical for achieving the desired performance and service life of PQC pavements.
- Dowel Bars – Purpose: Dowel bars facilitate load transfer across transverse contraction and expansion joints, thereby reducing differential deflection, faulting, and edge stresses under traffic loading.
- Dowel Bar Preparation: Dowel bars shall be cut, straightened, and coated as per approved drawings. One half of the dowel length is generally debonded using an approved bond breaker, cap, or sleeve to permit slab movement.
- Dowel Bar Placement: Install dowel bars using a dowel basket assembly or Dowel Bar Inserter (DBI) integrated with the slipform paver. Bars shall be positioned accurately at mid-depth of the PQC slab and parallel to both the pavement centerline and finished surface.
- Alignment Control: Check horizontal and vertical alignment regularly using templates, gauges, or approved measuring devices. Misaligned dowels can cause joint locking, slab cracking, spalling, and poor load transfer performance.
- Tie Bars – Purpose: Tie bars are provided across longitudinal joints to keep adjacent lanes interconnected and prevent separation due to traffic loading, shrinkage, and temperature-induced movements.
- Tie Bar Installation: Tie bars shall be placed at the specified spacing and depth either through mechanical insertion by the paver or by pre-fixing them in approved assemblies. Bars shall remain securely anchored within the concrete.
- Epoxy Coating: Where specified, epoxy-coated steel bars shall be used to improve corrosion resistance and durability, particularly in aggressive environmental conditions.
- Protection During Concreting: Ensure that bar positions are not disturbed during concrete placement, vibration, or finishing operations. Any displaced bars shall be corrected immediately before concrete hardening.
- Quality Control: Verify bar diameter, length, spacing, alignment, coating condition, and embedment depth at the prescribed frequency. Non-conforming bars shall be rectified before paving progresses.
Site Engineering Tip: Improper dowel alignment is one of the most common causes of joint distress in concrete pavements. Even a well-designed PQC slab can experience cracking, joint locking, faulting, and premature failure if dowel bars are not installed accurately. Similarly, inadequate tie bar placement may result in lane separation and longitudinal joint cracking during service.
2.5 Concrete Production
- Computerized batching plant operation
- Strict water-cement ratio control
- Uniform mixing for consistency
- Temperature monitoring at plant
2.6 Slipform Paving
- Continuous paving without stoppage
- Internal vibration: 8000–10000 rpm
- Automatic level & alignment control
- Slab thickness tolerance ±10 mm
2.7 Surface Finishing
Surface finishing is the final operation carried out immediately after concrete placement and compaction. Proper finishing ensures the required riding quality, skid resistance, surface regularity, and long-term durability of the rigid pavement. All finishing operations shall be completed before the concrete begins its initial setting.
- Initial Levelling: Immediately after paving, strike off the excess concrete using the paver screed or vibrating beam to achieve the specified pavement thickness, line, level, and cross fall.
- Surface Correction: Eliminate minor surface imperfections, depressions, honeycombing, and edge irregularities using approved finishing tools without adding water or excessive mortar to the surface.
- Longitudinal & Cross Profile: Continuously monitor the finished surface using string lines, level instruments, or automatic grade control systems to maintain the specified longitudinal profile and cross slope.
- Texturing (Tining/Broom Finish): Before the concrete reaches its initial set, provide the specified surface texture using a mechanical tining device or broom. The texture shall be uniform throughout the pavement width to improve tyre grip, drainage, and skid resistance.
- Edge Finishing: Finish slab edges neatly to prevent chipping and ensure proper joint formation. Any damaged or broken edges shall be repaired immediately before hardening.
- Surface Regularity Check: Check the finished pavement using a 3 m straightedge placed longitudinally and transversely. Surface deviations shall be within the permissible limits specified in the contract. Any unacceptable high spots shall be corrected immediately while the concrete remains plastic.
- Final Inspection: Ensure the completed surface is free from footprints, drag marks, segregation, laitance, excessive mortar, and surface defects before commencing curing operations.
Site Engineering Tip: Surface texturing is not merely a finishing operation—it is a critical safety requirement. Uniform tining or brooming improves skid resistance, enhances water drainage during rainfall, reduces the risk of hydroplaning, and provides better tyre grip throughout the pavement's service life. Surface regularity should always be verified immediately after finishing, as defects become difficult and costly to rectify once the concrete hardens.
2.8 Curing
- Curing compound spray or wet hessian
- Minimum 14 days curing period
- Prevents plastic shrinkage cracks
2.9 Joint Saw Cutting
Joint saw cutting is one of the most critical operations in rigid pavement construction. It creates predetermined planes of weakness so that concrete shrinkage and temperature stresses are relieved through controlled joints rather than random cracks. Incorrect timing, insufficient depth, or poor alignment can lead to uncontrolled cracking and premature pavement distress.
- Marking of Joints: Before sawing, mark the transverse and longitudinal joint locations as per the approved joint layout drawing. Ensure the joints are straight, continuous, and accurately aligned.
- Timing of Saw Cutting: Commence saw cutting as soon as the concrete has gained sufficient strength to prevent raveling of the edges, generally within 8–24 hours after paving, depending on ambient temperature, cement type, concrete strength gain, and weather conditions. In hot weather, cutting may be required much earlier.
- Saw Cutting Equipment: Use a self-propelled diamond blade concrete saw capable of producing straight, uniform, and clean cuts without damaging the surrounding concrete.
- Depth of Cut: Maintain the saw cut depth at approximately one-third (1/3) of the slab thickness or as specified in the project requirements. Verify the cutting depth periodically during the operation.
- Sequence of Cutting: Complete transverse contraction joints first, followed by longitudinal joints, to effectively relieve early-age shrinkage stresses.
- Quality of Cut: Ensure the cut is straight, continuous, and free from edge chipping, spalling, or excessive raveling. Replace worn saw blades whenever necessary to maintain cutting quality.
- Cleaning of Joints: After completion of saw cutting, remove all slurry, dust, and loose concrete particles using compressed air or water jet. Allow the joints to dry completely before applying the joint sealing system.
- Inspection: Verify joint spacing, alignment, depth, width, and cleanliness before proceeding with sealing. Any defective or incomplete cuts shall be rectified immediately.
Site Engineering Tip: Joint saw cutting should never be delayed. If cutting is performed too late, the concrete will relieve shrinkage stresses by developing uncontrolled random cracks instead of forming cracks beneath the intended joints. Conversely, cutting too early may cause edge raveling and damage to the fresh concrete. Continuous monitoring of concrete strength and weather conditions is essential to determine the optimum cutting time.
2.10 Joint Sealing
Joint sealing is the final operation in joint construction and plays a vital role in protecting the rigid pavement system. Properly sealed joints prevent the entry of water, incompressible materials, dust, and debris into the joint, thereby minimizing pumping, erosion of the DLC/sub-base, joint spalling, and premature pavement deterioration.
- Joint Preparation: Joint sealing shall be carried out only after the concrete has attained the specified strength and the saw-cut joints have been inspected and approved. Ensure the joints are dry and free from laitance, slurry, dust, oil, and loose particles.
- Groove Cleaning: Clean the joint groove thoroughly using a mechanical wire brush, compressed air, or a high-pressure air blower. Any moisture, slurry, or foreign material remaining inside the groove shall be completely removed before sealing.
- Backer Rod Installation: Insert a closed-cell polyethylene backer rod of the specified diameter into the joint at the required depth. The backer rod supports the sealant, controls the sealant depth, prevents three-sided adhesion, and allows the sealant to expand and contract effectively.
- Sealant Application: Apply the approved hot-poured or cold-applied joint sealant using suitable sealing equipment. Fill the joint uniformly without air voids or gaps, ensuring proper adhesion to the joint faces.
- Sealant Finish: Finish the sealant flush with or slightly below the pavement surface, as specified. Avoid excessive overfilling or underfilling, which can reduce sealant performance and durability.
- Curing & Protection: Allow the sealant to cure for the manufacturer's recommended period. Protect the sealed joints from traffic, dust, water, and construction activities until the sealant has fully set.
- Quality Inspection: Inspect all sealed joints for continuity, adhesion, uniformity, sealant depth, and surface finish. Repair any voids, cracks, debonding, or damaged sections before opening the pavement to traffic.
Site Engineering Tip: Most joint failures occur due to inadequate cleaning before sealant application. Even the highest-quality sealant will fail if applied over dust, slurry, or moisture. Proper groove cleaning, correct backer rod installation, and uniform sealant depth are essential to prevent water infiltration, pumping of the foundation layers, joint spalling, and costly maintenance during the pavement's service life.
2.11 Quality Assurance & Quality Control (QA/QC) Checks
Quality Assurance (QA) and Quality Control (QC) are essential to ensure that the completed PQC pavement complies with the project specifications, approved mix design, and contractual quality requirements. Continuous inspection, testing, and documentation shall be carried out from concrete production to final acceptance of the pavement.
- Material Quality Verification: Verify that cement, coarse and fine aggregates, water, admixtures, dowel bars, tie bars, and separation membrane conform to the approved specifications before use. Maintain material test certificates and source approvals.
- Fresh Concrete Testing: During paving, monitor concrete temperature, workability (Vee-Bee Time or approved consistency test), density, and batching records. Ensure the concrete is placed within the permissible transportation and laying time.
- Flexural Strength Testing: Prepare and test beam specimens at the specified frequency to determine the flexural strength (Modulus of Rupture), which is the primary acceptance criterion for PQC. Record 7-day and 28-day test results as per the project specifications.
- Compressive Strength (Where Specified): Conduct compressive strength testing on concrete cubes or cylinders if required under the contract for process control and quality monitoring.
- Thickness Verification: Verify the finished PQC thickness by approved methods such as core cutting or non-destructive techniques, ensuring compliance with the specified pavement thickness.
- Surface Regularity: Check the completed pavement using a 3 m straightedge placed both longitudinally and transversely. Surface deviations shall remain within the permissible tolerances specified in the contract.
- Joint Inspection: Inspect dowel bar alignment, tie bar positioning, saw-cut depth, joint spacing, and joint sealing quality to ensure proper load transfer and long-term pavement performance.
- Line, Level & Cross Fall: Verify pavement alignment, finished levels, slab thickness, longitudinal profile, and cross fall using Total Station, Auto Level, or approved surveying equipment.
- Curing Monitoring: Record the commencement time, curing method, curing duration, ambient temperature, concrete temperature, and weather conditions. Ensure uninterrupted curing for the specified period.
- Documentation & Records: Maintain complete QA/QC documentation, including inspection requests (IRs), material approvals, calibration certificates, batching records, field test reports, laboratory results, pour cards, checklists, and as-built quality records for final acceptance.
Site Engineering Tip: Quality cannot be achieved by testing the finished pavement alone. Continuous monitoring of batching, transportation, paving, vibration, finishing, curing, joint construction, and testing at every stage ensures durable, defect-free PQC. Proper documentation is equally important, as it demonstrates contractual compliance and facilitates future maintenance and dispute resolution.
Final Engineering Insight
PQC performance depends more on construction discipline than mix design. Proper DLC quality, dowel alignment, joint timing, and curing control decide the pavement life of 30–40 years.
Expert Insight: Implementing comprehensive QA/QC with preventive maintenance ensures PQC pavements meet structural, economic, and environmental goals over their design life.